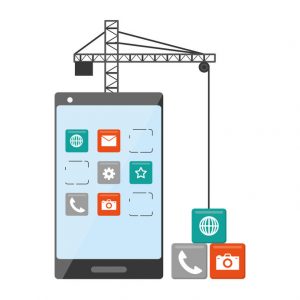
Application development must always start with creating a prototype. The prototype is the one that gives a clear idea, an exact preview of the final product. A prototype is a preliminary clone – if we may say so, it is a screenshot of the future app, which will become completely functional once the implementation is done.
Each project starts from an idea, which has to be projected on a piece of paper, to the point where the developer can provide a detailed prototype of the final product.
Advantages of using a prototype:
- It simulates the real product
- It may provide new ideas
- By creating a prototype, the developer prevents any major issue before the application causes financial damage if it reaches the market while still flawed.
A prototype is quick and easy to create. Even a beneficiary of the app can help develop a prototype by providing a simple idea on paper, so that the designer understands the logic behind it and makes it functional. This simple sketch, which can be a simple illustration with a few buttons, in the case of a mobile application, will be transformed, by a professional designer, into a highly detailed complex product that will be approved for implementation. These are some of the best app prototyping tools to put into use.
Tools to create a prototype
There are applications that create low-fidelity prototypes from simple paper sketches, as well as applications that allow you to create high-fidelity functional prototypes and test them on real devices.
For your application to be as user-friendly as possible, you need to use the right dimensions for the screen and elements to be added on the interface. As soon you have the elements of the right size, you can start creating the prototype by adding widgets. Both prototyping mobile widgets (native iOS and Android) and basic widgets can be used. They can be customized with interaction styles, labeling, and colors.
The layouts for each screen are made with dynamic panels, so you will have a single dynamic panel for each page. They can also be built so that each page matches a screen. There is also the “hybrid” method, which also contains dynamic panels but also more pages. Each method is effective. For example, the first one is indicated if the prototype should be tested under highly professional conditions, because it takes a while for the browser to load each page, which will lead to a slight delay in simulating the prototype.
The second method is effective because later on, when you generate the prototype, you can get a link for each page, so you can view the prototype on different devices (including from a desktop). To create prototypes with many interactions, we recommend that you follow tutorials dedicated to this topic.
After creating the layouts and adding important interactions, the prototype can be generated and tested either on the desktop or on the phone. If you want to test it on the desktop, it is best to use an iPhone or Android body, and put an inline frame on the screen and the inline frame can connect through a link to the page or home screen. This way, users will see the app exactly as it appears on the mobile device.